Quick Start
microScript programming
API reference


microStudio is a free game engine online.
Create games, learn programming, play, share, prototype and jam!
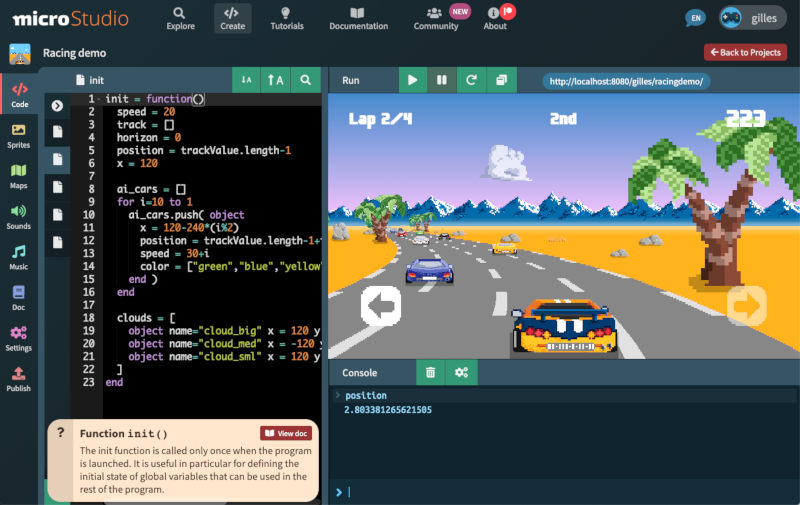
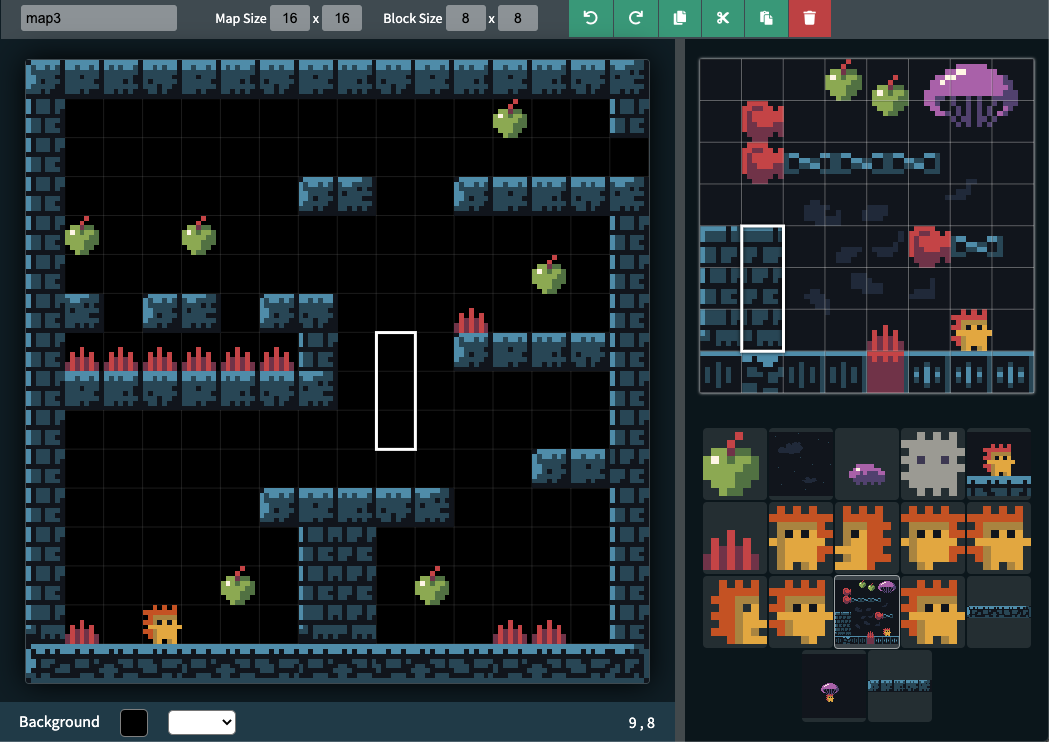
microStudio includes all you need to write code, create sprites and maps for your 2D game.
All from your web browser. Your project is stored in the cloud, accessible from anywhere.
Write your game code in microScript, a simple language inspired by Lua. The documentation is always there to help. Create cool demos in just a few lines of code.
microScript shines by its simplicity and interactivity. But you can also code in JavaScript, Python or Lua if you prefer.
Create pixel art sprites and maps with the included editors.
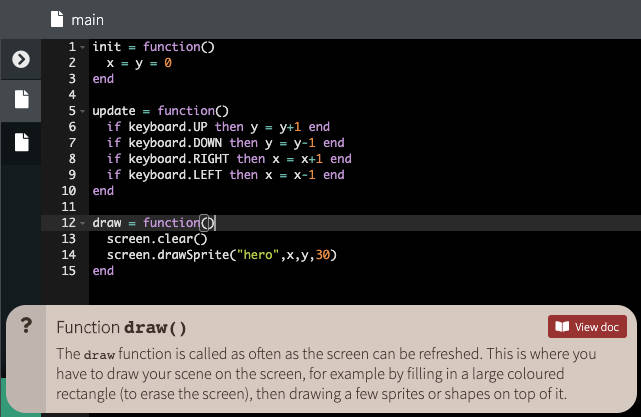
Using your sprites and maps from code is as easy as 1-2-3.
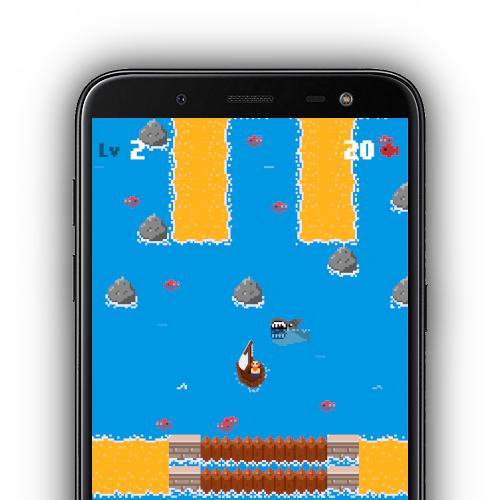
Change anything from your PC while testing your game on your mobile.
Your changes are immediately reflected in your ongoing playing session.
You can invite others to your project and work in teams.
microStudio automagically synchronizes all your project files in real time.
Control your game using the gamepad, touchscreen, keyboard or mouse inputs.
Export your project in a single click to HTML5, Windows, Linux, macOS. More export options are coming!

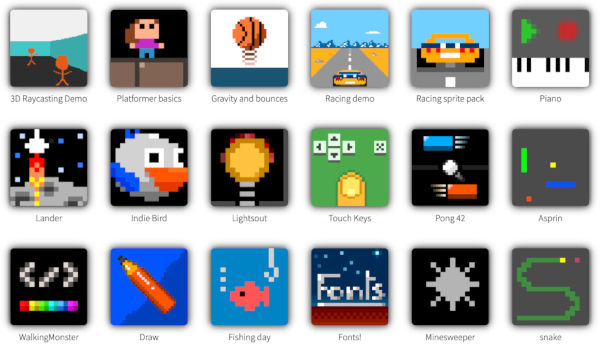
Browse public games, demos, resources. Pick up what you need for your own project.
Contribute your best creations and help others.

Would you like to work completely offline? Download the microStudio standalone app for Windows, Mac, Linux and Raspberry Pi:


microStudio is open source software, released under the MIT License:
You like microStudio and would like to support me? Check my Patreon!
Created in Strasbourg, France. See 'About' for more information
![]()
You are not tracked here.
microStudio doesn't use any third-party tracking script.
microStudio en FrançaismicroStudio in English
microStudio w języku polskimmicroStudio auf DeutschmicroStudio in ItalianomicroStudio em PortuguêsmicroStudio на русском языкеmicroStudio en español
microStudio is an integrated video game development environment. It includes all the tools you need to create your first video game! microStudio offers all the following possibilities:
You can start by exploring projects made by other users, in the Explore section.
You can start creating as a guest, or you can directly set up an account. Choose a nickname (avoid using your real name), enter your email address (necessary in case you forget your password) and let's go!
You can either create a new empty project in the Create section, or choose an existing project in the Explorer section and click on the "Clone" button to create your own copy and start customizing it.
Once your project has been created, you are in the "Code" section. This is where you can start programming. Try to copy and paste the code below:
draw = function()
  screen.drawSprite ("icon",0,0,100,100)
end
Then click on the Play button on the right-hand side of the screen. Your program starts and you see that the code above displays the project icon in the middle of the screen. Change the display coordinates (the digits 0 and 100) to see the position and dimensions of the icon vary.
You can then make this first program more interactive, by copying and pasting the code below:
update = function()
  if keyboard.LEFT then x -= 1 end
  if keyboard.RIGHT then x += 1 end
  if keyboard.UP then y += 1 end
  if keyboard.DOWN then y -= 1 end
end

draw = function()
  screen.fillRect(0,0,400,400,"#000")
  screen.drawSprite("icon",x,y,20,20)
end
This time the program allows you to move the project icon with the keyboard arrows. The meaning of the functions update and draw, the test of the keyboard keys with keyboard, the drawing on the screen with screen are all explained in detail later in this documentation.
You can also go to the Sprites section, click on the "icon" element and start editing the image. When you return to the Code section, you will see that your changes are instantly taken into account in the program currently running.
The main section Explorer allows you to discover projects created by other users. You can find examples of games, reusable templates, sprite libraries in different styles and themes. If you are interested in a particular project, you can clone it, i.e. create a complete copy of it that you can then modify and reuse for your own purposes.
If you have previously opened one of your projects in the Create section, you will be able to import each sprite or source file of the projects you are exploring to your current project. This allows you to pick images or features that interest you from among the community's public projects, and reuse them for your own purposes.
You can create an empty project in the main section Create. Your project has several sections:
In this section you program and test your project. A source code file is automatically created for your project. You can add others to divide the functionalities of your project into various sub-sets.
The operation of a microStudio program is based on your implementation of 3 essential functions:
init where you initialize your variablesupdate where you animate your objects and scan the entriesdraw function where you draw on the screeninit()The init function is called only once when the program is launched. It is useful in particular for defining the initial state of global variables that can be used in the rest of the program.
init = function()
  status = "welcome"
  level = 1
  position_x = 0
  position_y = 0
end
update()The function update is invoked 60 times per second. The body of this function is the best place to program the logic and physics of the game: state changes, sprite or enemy movements, collision detection, keyboard, evaluation of touch or gamepad inputs, etc.
update = function()
  if keyboard.UP then y = y+1 end
end
The above code increases the value of the y variable by 1 every 60th of a second if the UP key on the keyboard is pressed (up arrow).
draw()The draw function is called as often as the screen can be refreshed. This is where you have to draw your scene on the screen, for example by filling in a large coloured rectangle (to erase the screen), then drawing a few sprites or shapes on top of it.
draw = function()
  // fill the screen with black
  screen.fillRect(0,0,screen.width,screen.width,screen.height, "rgb(0,0,0)")
  // draw the sprite "icon" in the center of the screen, in size 100x100
  screen.drawSprite("icon",0,0,100,100)
end
In most cases, draw is called 60 times per second. But some computers or tablets can refresh their screens 120 times per second or even more. It can also happen that the device running the program is overloaded and cannot refresh the screen 60 times per second, in which case the draw function will be called less often. This is why update and draw are two separate functions: no matter what happens, update will be called exactly 60 times per second; and when draw is called, it is time to redraw the screen.
In the "Code" section, the right part of the screen allows you to see your program in action, while continuing to modify its source code. To launch the program, simply click on the button. You can interrupt the execution of your program at any time by clicking on the button .
During the execution of your program, you can use the console to execute simple commands in microScript. For example, you can simply enter the name of a variable to find out its current value.
Know the current value of the position_x variable
> position_x
34
>
Change the value of position_x
> position_x = -10
-10
>
Call the draw() function to see the change in position_x and its effect on the drawing on the screen (assuming that the execution is paused)
> draw()
>
In your program code, you can send text to be displayed on the console at any time, using the print() function.
draw = function()
  // your draw implementation()

  print(position_x)
end
Sprites are images that can move on the screen. The drawing tool in microStudio allows you to create sprites, which can then be used in the program code to display them on the screen at the desired position and size.
Each project has a default sprite, called "icon", which will act as the application's icon. You can create new sprites by clicking on Add a sprite. You can rename them as you wish and define their size in pixels (width x height).
microStudio offers the classic drawing functions: pencil, filling, eraser, lighten, darken, soften, increase contrast, change saturation.
The eyedropper tool can be used at any time by pressing the [Alt] key on the keyboard.
The tile and symmetry options will help you to create "repeatable" sprites or sprites with one or two symmetry axes.
You can import image files to your microStudio project. To do so, drag and drop PNG or JPG files (up to 256x256 pixels in size) to the list of sprites.
A map in microStudio is a grid for assembling sprites. It allows you to assemble a decor or create a level.
Maps can be created, renamed just like sprites. It is possible to modify the size of the grid (in number of cells). Each cell can be painted with a sprite. It is possible to change the pixel size of each cell, which should generally reflect the size of the sprites used to paint the grid.
The Settings tab allows you to customize some elements of your project.
You can define the title of your project, its identifier (used to create its URL i.e. its internet address).
You can specify whether your project should be used in portrait or landscape mode. This choice will be taken into account when installing your application on a smartphone or tablet.
You can also specify the desired proportions for the display area on the screen. This is an option to ensure the application always looks good when installed on devices with screens of different proportions.
The users section allows you to invite friends to participate in your project. You must know the nickname of the friend you want to invite. Once a friend is invited, if she accepts your invitation, she will have full access to your project and will be able to make any changes she wants (modify, add, delete sprites, maps, code etc.). However, the modification of the project options and the list of participants is reserved for the project owner.
microStudio offers a few options for publishing or exporting your project. You can export your project as a standalone HTML5 app, for distribution online, on your site or on game distribution platforms. You can also make your project public on microStudio allowing the community to play with it, comment, explore the source code and assets... More export options are planned for the future.
To make your project accessible to everyone (read-only), click on "Make my project public". Once your project is public, it will be displayed in the exploration tab of the microstudio site. Any visitor will be able to run the game, view and reuse the source code and other components of your project.
Your game has a permanent URL in the form https://microstudio.io/author_nickname/game_id/. You can of course distribute the link to anyone or you may add your game to your existing website by embedding it into an iframe.
To export your full project to a standalone HTML5 app, click "Export to HTML5". This triggers the download of a ZIP archive, containing all the files necessary to run your game: sprites, some JavaScript files, icons and a main HTML file "index.html". Your game can be run locally (double-click the file index.html) or you may upload it to your existing website. It is also ready to be published on many online game distribution platforms that accept HTML5 games (we suggest a few in the HTML5 export panel).
Your e-mail address is not validated yet. Check your e-mails and click on the validation link we sent to you. In case you did not receive the validation e-mail yet, use the button below to resend:
You can delete your account permanently. Deletion is immediate and cannot be undone. All the projects you own and all your information will be permanently deleted from our servers.
You can browse public libraries on microstudio.dev. To use them in the standalone app, export them from microstudio.dev and import them in the standalone app.
Browse public librariesI am currently working on Music Power Up, a gamified audio production app. The free demo version of the app will land here in the future, allowing you to create full chiptunes and fx for your microStudio games.
You can support my work by wishlisting the game on Steam! Thanks a ton :-)
I am currently working on Music Power Up, a gamified audio production app. The free demo version of the app will land here in the future, allowing you to create full chiptunes and fx for your microStudio games.
You can support my work by wishlisting the game on Steam! Thanks a ton :-)
Select the project you want to use as synchronization source. New files and changes will be copied from the selected source project, to the project which is currently opened.
If you have reviewed the synchronization details above and wish to proceed, type SYNC NOW in the text field below and then click the button to proceed.
Library
Here is where your grant other users access to edit your project. Users added here are granted full control on your project, except for adding or deleting other users.
Making your project public will allow it to be listed in the Explore section of the site. Public projects can be run and used by anyone. Making a project public allows anyone to view and possibly reuse the source code.
Exporting to HTML5 allows you to distribute your game as a web app or a standalone HTML app. Unzip contents, double-click index.html to start the game, or upload the contents to a subfolder of your existing web site.
You can also easily publish your HTML5 game on a number of platforms supporting HTML5 games. We have listed a few popular ones below, which you can check out:
Export your game server as a NodeJS app ready to be installed on your own server.
You can find instructions about setting up your server in the Advanced / Networking section of the documentation.

This will build an APK file of your game. An APK file is what you need to publish your game on the Google Play Store, for Android devices.

This will build your game as an executable for Windows (.EXE).

This will build your game as an executable for macOS.

This will build your game as an executable for Linux (Ubuntu, x86).

This will build your game as an executable for Raspberry Pi (Raspbian).
You can browse public plug-ins on microstudio.dev. To use them in the standalone app, export them from microstudio.dev and import them in the standalone app.
Browse public plug-ins
Comments